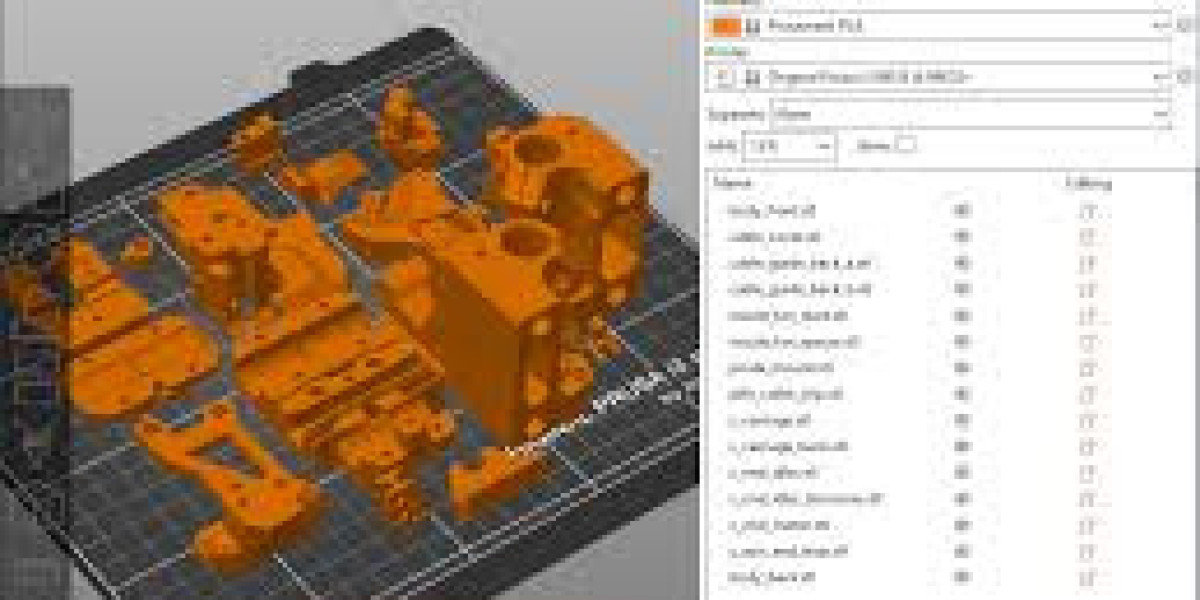
Prusa Slicer has become a staple in the 3D printing community for its robust features, ease of use, and seamless integration with Prusa 3D printers. However, like any software, users can encounter issues that may affect print quality or workflow efficiency. Understanding these common problems and knowing how to fix them can save you time, reduce material waste, and ensure that your prints turn out perfect every time. This guide focuses on practical solutions for frequent Prusa Slicer issues to help both beginners and experienced users optimize their 3D printing experience.
Layer Adhesion Problems
Layer adhesion is one of the most frequent issues encountered in 3D printing, where printed layers fail to bond properly, leading to weak or failed prints. In Prusa Slicer, the first step to fix this problem is reviewing your layer height settings. Lowering the layer height can improve bonding between layers, as thinner layers melt and fuse better, providing stronger structural integrity. For instance, setting a layer height of 0.1–0.2 mm instead of 0.3 mm can significantly enhance layer adhesion.
Another essential factor is adjusting print temperature. Prusa Slicer allows precise control over the nozzle and bed temperatures. Increasing the nozzle temperature slightly can help filament flow better and improve bonding between layers. Similarly, ensuring the bed temperature matches the filament's specifications promotes better first-layer adhesion. Additionally, enabling features like the "Brim" or "Raft" in Prusa Slicer can give additional support to prints that struggle with adhesion.
Warping and Curling Issues
Warping occurs when the edges of a 3D print lift off the build plate, which is often caused by uneven cooling or improper first-layer adhesion. To combat this in Prusa Slicer, start by optimizing the bed adhesion settings. Using a heated bed and ensuring that the first layer is printed slowly with a slightly thicker extrusion width can help the filament stick to the plate. Prusa Slicer’s "First Layer Settings" feature allows you to fine-tune these parameters to prevent warping effectively.
Filament choice and ambient temperature also play crucial roles in warping. Certain filaments like ABS are prone to shrinking as they cool. Prusa Slicer lets you adjust cooling fan settings, allowing slower cooling for materials prone to warping. Additionally, using enclosures or printing in a draft-free environment can reduce temperature fluctuations, further minimizing curling. By combining these adjustments, Prusa Slicer users can significantly reduce warping and produce smoother, more accurate prints.
Stringing and Oozing Fixes
Stringing occurs when thin strands of filament are left between printed parts due to nozzle oozing during non-print movements. Prusa Slicer provides tools to minimize stringing, starting with retraction settings. Retraction pulls the filament back into the nozzle when moving between areas, reducing the likelihood of filament leaks. Increasing retraction distance or speed can significantly reduce stringing for most filaments.
Temperature management also plays a role in preventing oozing. Printing at too high a temperature can make the filament overly runny, causing unwanted strings. Prusa Slicer allows users to set precise temperatures for different filament types, which can help reduce stringing. Additionally, activating features like "Combing Mode" in Prusa Slicer ensures that the nozzle travels inside the model's infill areas instead of across open gaps, further preventing unsightly strings.
Under-Extrusion and Gaps in Prints
Under-extrusion occurs when the printer fails to deliver enough filament, resulting in weak layers, gaps, or incomplete prints. In Prusa Slicer, the first step is checking the filament diameter and flow rate settings. Ensuring the filament diameter matches the actual filament being used and calibrating the flow rate can solve most under-extrusion issues. Prusa Slicer allows users to adjust flow percentage precisely to compensate for minor variations in filament thickness.
Mechanical factors also contribute to under-extrusion, such as a clogged nozzle, worn-out extruder gear, or filament tangling. While Prusa Slicer cannot directly fix mechanical issues, it provides diagnostic tools like the "Preview" mode to identify areas where extrusion may be insufficient. By combining proper slicer settings with routine printer maintenance, under-extrusion problems can be significantly reduced, resulting in stronger and more consistent prints.
Support Structures and Overhang Challenges
Printing models with complex overhangs or intricate designs often requires support structures to prevent sagging or collapse. Prusa Slicer offers customizable support options, such as grid or tree-like structures, which can be tailored to your model’s geometry. Enabling "Supports Everywhere" ensures overhangs are adequately supported, while adjusting the support density allows for easier removal after printing. Proper placement and density are key to balancing support efficiency and material usage.
Overhangs can also be managed by adjusting the printing speed and cooling. Printing slower for overhang areas ensures the filament has time to solidify, reducing drooping. Prusa Slicer’s "Per-Object Settings" allow users to customize parameters for specific parts of a model, enabling precise control over overhang performance. Combined with correct support settings, these adjustments help produce clean, high-quality prints even for challenging designs.
Conclusion
Prusa Slicer is a powerful tool for 3D printing, but like any complex software, it comes with its own set of challenges. By addressing common issues such as layer adhesion, warping, stringing, under-extrusion, and overhangs, users can dramatically improve print quality and reduce frustration. The key is to understand the relationship between slicer settings, filament properties, and printer mechanics. With careful adjustment and experimentation, Prusa Slicer can help turn every 3D printing project into a success. Mastering these common fixes ensures not only higher-quality prints but also a more enjoyable and productive printing experience.


