DIY wainscoting systems offer an affordable way to add architectural flair to any room, using simple panels, rails, and stiles that snap or glue into place without fancy tools or skills. Perfect for tight budgets, these kits cost under $3 per square foot, transforming drab walls into elegant features over a single weekend. Whether you're tackling a rental refresh or a forever home glow-up, the modular design hides imperfections, protects surfaces, and elevates everyday spaces. Homeowners love how it mimics high-end custom work, fooling guests into thinking you splurged on pros.
Affordable Materials for Maximum Impact
These systems rely on everyday stuff like MDF boards, PVC panels, or primed pine slats, sourced from big-box stores for pennies compared to hardwood. A basic kit includes horizontal cap rails, vertical dividers, and base trim—everything interlocks like puzzle pieces. Opt for paintable versions to match your palette, or prefinished ones for zero hassle. In humid spots, moisture-resistant composites shine, lasting years without swelling. This smart material mix delivers pro polish at DIY prices, proving style doesn't require deep pockets.
Gathering Tools Without Breaking the Bank
You'll need basics like a tape measure, level, stud finder, and miter saw, but many kits supply adhesive strips and starter clips to skip power tools altogether. A hand saw and hammer work fine for cuts, while caulk and wood filler finish seams invisibly. Rent a nail gun if you're going bold, but screws or glue dots hold firm too. Total tool investment? Often under $50 if starting fresh. It's all about keeping it simple, so you spend on panels, not gear.
Prep Work for Perfect Alignment
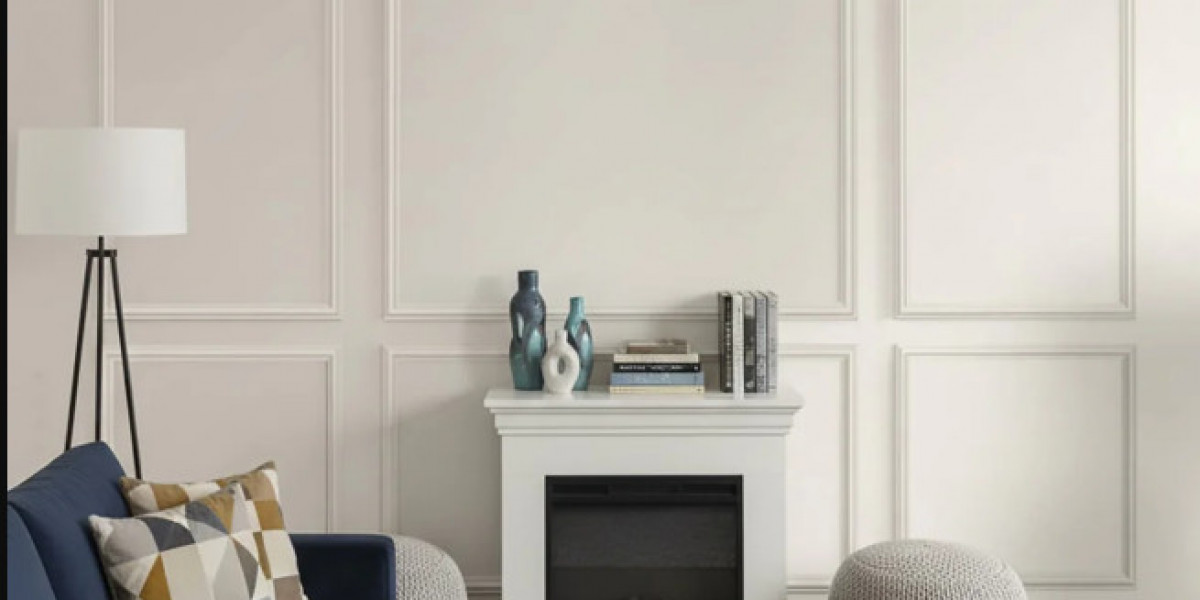
Start by clearing furniture and marking stud locations with painter's tape—every 16 inches or so—for rock-solid nailing. Snap a chalk line at chair height, usually 36 inches up, using a level to beat uneven floors. Sand glossy spots and fill dents with spackle for a smooth base. Protect floors with drop cloths, and mask outlets for clean cuts later. This half-hour prep prevents headaches, ensuring panels sit flush and true from the first piece.
Assembly Tricks for Seamless Panels
Begin in a corner with the baseboard, gluing and nailing it level, then add vertical stiles every 24-30 inches for panel bays. Cut panels to fit snugly between stiles, leaving 1/16-inch gaps for expansion, and secure with adhesive plus nails into studs. Top with a rail, staggering joints like bricks for strength. Jigsaw around pipes or switches pre-install. Work room-long before circling back—suddenly, your wall boasts recessed panels that pop with shadow play.
Painting Secrets for Flawless Finishes
Prime before assembly if possible, but post-install works too: back-roll paint into grooves for depth, then brush edges feather-light. Two coats of semi-gloss hide fingerprints in busy areas, while matte suits cozy nooks. Caulk all seams first—it flexes with walls, dodging cracks. Choose washable formulas for kid zones. This step multiplies the wow factor, turning raw wood into a sophisticated backdrop that ties rooms together effortlessly.
Room-Specific Ideas for Versatile Style
Dining rooms gain formality with full-height panels, while powder baths cozy up via ceiling extensions. Hallways narrow dramatically with vertical emphasis, and home offices frame desks like built-ins. In Lahore's warm homes, light colors bounce heat, pairing with fans for airy feels. Mix heights—short for playrooms, tall for entries. These tweaks personalize the system, fitting any footprint without custom fab.
Cost Breakdown and Value Boost
Figure $100-200 for a 10x12 room, covering materials and minor supplies—cheaper than one pro day's labor. It hikes resale by 2-5% via perceived luxury, per real estate nods. No waste from pre-sized parts, and reusability suits flips. Compare to wallpaper: wainscoting endures bangs, cleans easy, and ages gracefully. Your wallet wins big, funding the next project.
Maintenance Tips for Enduring Charm
Dust monthly with a microfiber wand to catch grooves, and spot-clean with soapy water—no abrasives. Refresh paint every few years, feathering for blends. Tighten loose nails yearly in settling homes. Humidity? Ventilate well. Minor tweaks keep it pristine decades on, like furniture that improves with time.