DeWALT Stud Detector for Accurate Wall Scanning
A DeWALT Stud Detector helps you locate studs, metal, and live wiring before drilling, mounting, or cutting into walls. Because modern homes hide cables, connectors, and electronics behind drywall, a reliable scanner reduces mistakes and supports safer, cleaner installations. Whether you are hanging shelves, fitting cabinets, or routing cables, the right approach improves accuracy and saves time.
What a DeWALT Stud Detector does in real jobs
Stud detectors are designed to read changes behind the surface. Depending on the model, you may scan for:
Wood studs behind drywall and plasterboard
Metal studs, pipes, or fasteners
Live AC wiring zones to support safety while drilling
Dense areas that can hide contactors, junction boxes, or connectors
Moreover, many users rely on a stud detector for consistent marking rather than guessing by tapping. That matters when you are fixing brackets, mounting TVs, installing switches, or running cable pathways.
Key features that matter when choosing a DeWALT Stud Detector
Not every job needs the same scanner. Therefore, focus on features that match the surfaces and fixings you deal with most often.
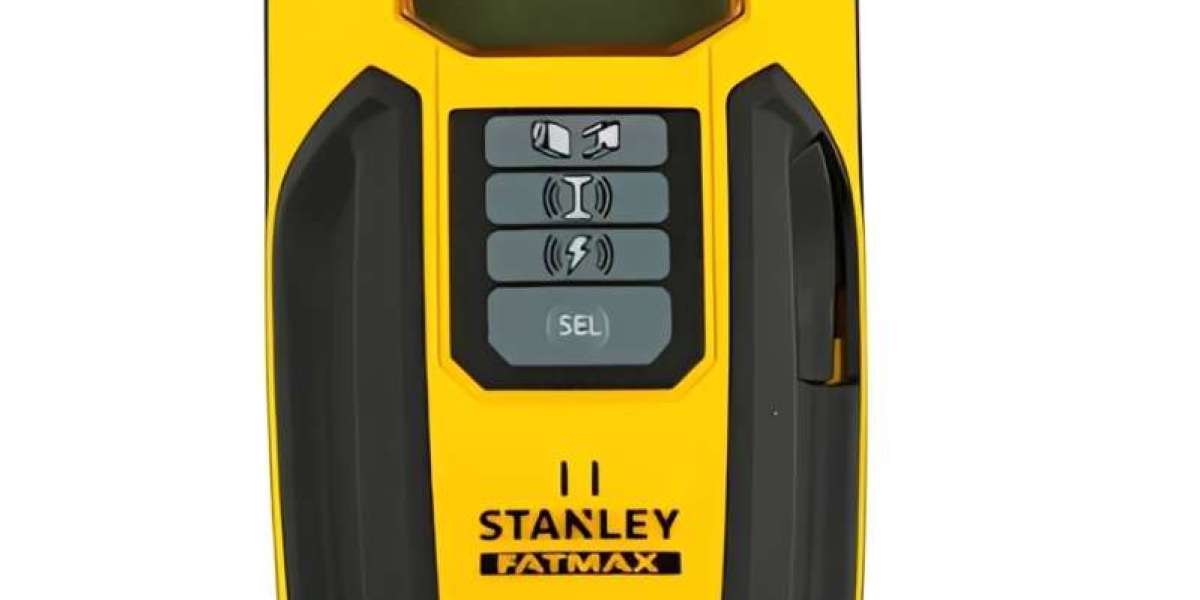
Detection modes and depth
A good tool offers multiple scan modes so you can switch based on what is behind the wall.
Stud mode for timber framing
Deep scan mode for thicker boards or double layers
Metal mode for pipes, screws, and metal studs
Live wire detection to highlight risky drilling zones
If you commonly work near electronics cabinets or control panels, live wire detection becomes even more important.
Display clarity and signalling
Clear feedback reduces rework. Many DeWALT units use visual indicators and audible signals to help you move slowly and stop at the correct point.
Look for:
An easy-to-read screen with edge detection guidance
Audible alerts that change as you approach an object
Directional cues that help you centre on the stud
Grip, handling, and jobsite durability
Because scanning requires controlled movement, a stable grip helps accuracy. DeWALT tools often focus on comfort and ruggedness, which is useful when you are working on ladders or in tight spaces.
Useful details include:
Rubberised grips for better control
Button placement that supports one-hand use
Body design that sits flat against the wall
Power and readiness
Battery life and quick startup matter on busy jobs. In addition, consistent power can help sensors remain stable, especially during long scanning sessions.
How to use a DeWALT Stud Detector for consistent accuracy
A stud detector is only as accurate as your method. So, follow a repeatable process.
Step 1: Prep the surface
Before you scan:
Remove loose dust and debris
Avoid scanning over wet paint or heavy texture when possible
Keep your other hand away from the scanning area to reduce interference
If the wall has thermal insulation, dense fillers, or patch repairs, expect readings to vary and plan for extra passes.
Step 2: Calibrate correctly
Calibration is where many mistakes happen. Place the tool flat on the wall and allow it to calibrate away from studs if your model requires that. Then, start the scan only once the device signals it is ready.
Also, recalibrate if you change modes or move to a different wall type.
Step 3: Scan slowly and mark edges
Move horizontally at a steady pace. When the tool signals the edge, mark it. Then continue until it signals the opposite edge and mark again.
After that:
Find the midpoint between edge marks
Confirm by scanning back in the opposite direction
Repeat once more if the wall feels inconsistent
This approach is effective when you are mounting heavy items and need dependable anchor points.
Step 4: Verify before drilling
Even with a strong scanner, verification is smart. Use a small pilot hole, a thin probe, or check from an outlet box location if appropriate.
When live wire detection indicates a risk zone, do not drill there. Instead, re-route the mounting position or investigate from a safer access point.
Common applications where a DeWALT Stud Detector adds value
A DeWALT Stud Detector is useful for both home and trade work. Because it reduces guesswork, it supports speed and safety across many tasks.
Typical uses include:
Mounting TV brackets and wall shelves
Installing cabinets and rails
Fixing lighting fixtures and LED mounting tracks
Locating safe drilling routes for cables and conduit
Working around switches, sockets, and concealed connectors
Planning routes near electronics, controllers, and junction boxes
In workshops, it can also help when mounting boards or panels where hidden metal fasteners may affect drilling.
How wall materials affect results
Different walls behave differently. Therefore, your expectations should match the surface.
Drywall and plasterboard
These are usually the easiest to scan. However, repairs, seams, and taped joints can create misleading readings. Scan in multiple passes and confirm with edge marking.
Plaster and lath
These walls can produce noisier signals. In that case, slow down, use deep scan if available, and repeat scans from different heights.
Tile and dense finishes
Tile adhesive layers and dense backing can reduce reliability. If you must scan, use the best mode for the situation and verify carefully before drilling.
Insulated cavities
Thermal insulation and thermal pads used in certain wall assemblies can alter readings. So, scan in smaller sections and check from both directions.
Safety tips for scanning near wiring and services
Safety should lead every drilling decision. Because cables and pipes can be close to stud lines, use these habits:
Treat live wire alerts as a stop signal, not a suggestion
Avoid drilling directly above or beside outlets and switches
Remember that cables can run horizontally or vertically
Use the correct PPE and keep your workspace stable
When in doubt, isolate power before working in uncertain areas
For professional environments, you may be working near contactors, controllers, and microcontrollers in adjacent panels or service routes. That is another reason to confirm what is behind the surface.
Choosing the right DeWALT Stud Detector for your needs
The best model depends on your job patterns. So, choose based on what you scan for most often.
For general home mounting
Prioritise clear stud edge detection, simple calibration, and easy handling.
For renovation and mixed materials
Look for deeper scan capability, metal mode, and strong signalling. This helps when you encounter reinforcement, fasteners, and hidden connectors.
For electrical and installation work
Live wire detection becomes critical. If you frequently route cables or work near switches and electronics, reliable wire warning features support safer decisions.
Maintenance and storage for reliable performance
To keep performance stable:
Wipe the sensor area clean after dusty jobs
Store the tool away from extreme heat and moisture
Remove batteries for long storage if recommended
Recheck calibration behaviour occasionally on a known stud wall
Also, avoid dropping the tool, since impact can shift sensor alignment and reduce accuracy.
Final checklist for better results on every scan
Before you drill or mount, use this quick checklist:
Calibrate on the correct surface
Scan slowly and keep the tool flat
Mark both edges and confirm the centre
Scan again in reverse direction
Respect live wire detection alerts
Verify with a cautious pilot step when needed
Used with a consistent method, a DeWALT Stud Detector becomes a dependable tool for safer drilling, cleaner installs, and fewer hidden surprises behind the wall.