Popcorn ceilings, once valued for their texture and sound-dampening qualities, are now considered outdated. Their rough appearance can make a room feel old or poorly maintained, and over time, dust, stains, and minor cracks often accumulate. Updating a popcorn ceiling into a smooth, modern surface may seem daunting, but with careful preparation and the right techniques, the transformation can dramatically refresh a room.
Why Popcorn Ceilings Require Attention
Many older homes still feature popcorn ceilings, some of which contain asbestos; a serious health concern if disturbed. Even if asbestos is not present, these ceilings can be difficult to clean, maintain, or repair. Stains, cracks, and peeling texture can detract from the overall aesthetic of your home. For a lasting solution, drywall ceiling repair not only removes the old texture but also creates a smooth, durable surface ready for painting or finishing. Addressing these ceilings improves both appearance and home value while making future maintenance much easier.
Preparing the Room for a Ceiling Transformation
Preparation is essential for a safe and efficient popcorn ceiling removal. Steps include:
Protect Floors and Furniture: Cover everything with drop cloths or plastic sheeting to contain dust and debris.
Check for Asbestos: Homes built before the 1980s should be tested by professionals before any scraping.
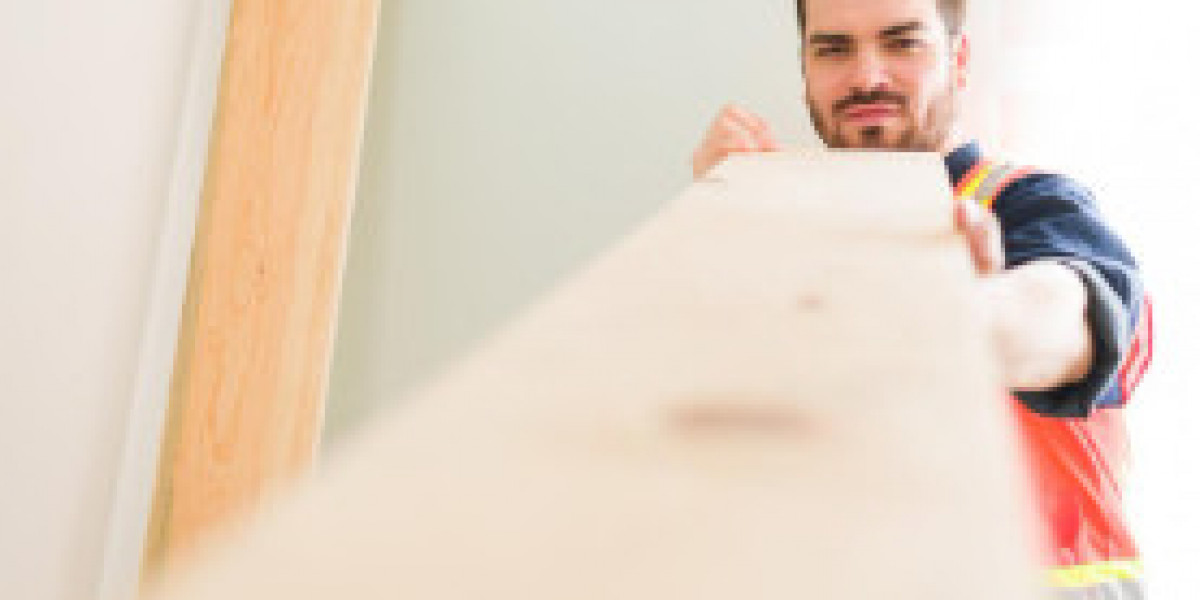
Gather Tools and Materials: Scrapers, joint compound, sanding tools, safety goggles, and masks are essential.
Ensure Ventilation: Proper airflow helps dust settle and speeds up drying after mud application.
Good preparation minimizes mess, ensures safety, and sets the stage for a professional-looking finish.
Techniques to Remove Popcorn Texture
Several methods exist for removing popcorn ceilings, depending on the room size and ceiling condition:
Scraping: Lightly wetting the ceiling loosens the texture, allowing it to be scraped off with a wide putty knife.
Skim Coating: A thin layer of joint compound is applied over the existing ceiling to create a smooth finish without fully removing the texture.
Replacement Panels: If the drywall is severely damaged, replacing panels entirely may be faster and more effective.
Each method requires care to prevent damage to the drywall beneath and to avoid creating uneven surfaces.
Steps for a Smooth and Modern Finish
Once the texture is removed, the next step is finishing the ceiling. Proper finishing ensures a flawless, professional look:
Repair Imperfections: Fill any holes, cracks, or dents with joint compound and sand smooth.
Apply Multiple Coats: Use thin, even layers of mud to prevent cracking and ensure uniform coverage.
Sand Between Coats: Light sanding removes lumps and prepares the surface for the next layer.
Prime the Ceiling: Priming improves paint adhesion and ensures durability.
Attention to detail during this stage transforms the ceiling into a seamless, visually appealing surface that complements modern interiors.
Knowing When to Bring in Experts
Even small popcorn ceiling projects can be challenging, especially when large areas or older ceilings are involved. Hire drywall contractor services to get the best results. Professionals offer:
Experience with large-scale ceiling repairs
Tools and techniques to reduce dust and speed up the project
Safe handling of potential asbestos or other hazards
Precision in joint compound application, sanding, and finishing
Professional assistance ensures efficiency, safety, and a long-lasting finish, giving homeowners peace of mind that the ceiling will look flawless.
Tips for a Successful Ceiling Transformation
Additional steps help maintain a high-quality finish and prevent common problems:
Work in small sections to avoid dust overload
Keep compound thickness consistent across the ceiling
Inspect the ceiling under good lighting to identify low spots or rough patches
Use corner beads on edges to prevent cracks
Allow adequate drying time between coats to avoid shrinkage
These preventive measures increase the durability and visual appeal of the ceiling, resulting in a polished, modern look.
Maintaining Your Smooth Ceiling
Once the ceiling is smooth, regular maintenance keeps it looking fresh:
Clean gently with a soft cloth or vacuum attachment to remove dust
Address minor cracks or dents promptly before they expand
Avoid heavy or sharp objects near the ceiling to prevent damage
Simple care ensures the investment in drywall ceiling repair continues to enhance your home for years.
Conclusion
Transforming a popcorn ceiling into a smooth, modern finish dramatically updates a room’s look and feel. Through careful preparation, proper removal techniques, and professional drywall ceiling repair, a ceiling can be revitalized into a seamless surface. Hiring a drywall contractor ensures the work is precise, efficient, and long-lasting, while also addressing potential hazards safely. With the right approach, homeowners can enjoy a contemporary, clean, and visually appealing ceiling that complements any interior design.
FAQs
1. Can I remove a popcorn ceiling myself?
Small areas can be DIY, but large ceilings or those containing asbestos should be handled by professionals to ensure safety and efficiency.
2. How long does the removal and finishing process take?
Timing depends on room size, method used, and ceiling complexity. Professionals often complete full-room transformations in one to two days.
3. Is sanding necessary after popcorn ceiling removal?
Yes. Sanding smooths the surface, ensures even coats of joint compound, and prepares the ceiling for primer and paint.