Introduction:
When it comes to creating a comfortable and energy-efficient space in your pole barn, insulating the ceiling is a crucial step that often gets overlooked. Whether you're using your pole barn for storage, as a workshop, or even as a living space, proper insulation can make a significant difference in temperature control and energy savings. In this comprehensive guide, we will walk you through the essential steps on how to insulate a pole barn ceiling effectively.
Understanding the Importance of Insulation:
Insulating your pole barn ceiling serves various purposes. It helps regulate indoor temperatures, making the space more comfortable in both hot and cold weather. Additionally, insulation acts as a barrier against moisture, preventing issues like condensation and mold growth. Proper insulation can also contribute to energy efficiency, reducing heating and cooling costs in the long run.
Selecting the Right Insulation Material:
Before diving into the installation process, it's essential to choose the right insulation material for your pole barn ceiling. Common options include fiberglass, foam board, and spray foam insulation. Each material has its advantages and disadvantages, so consider factors such as cost, R-value, and ease of installation when making your decision. The chosen material should align with your specific needs and budget.
Step-by-Step Guide on How to Insulate Pole Barn Ceiling:
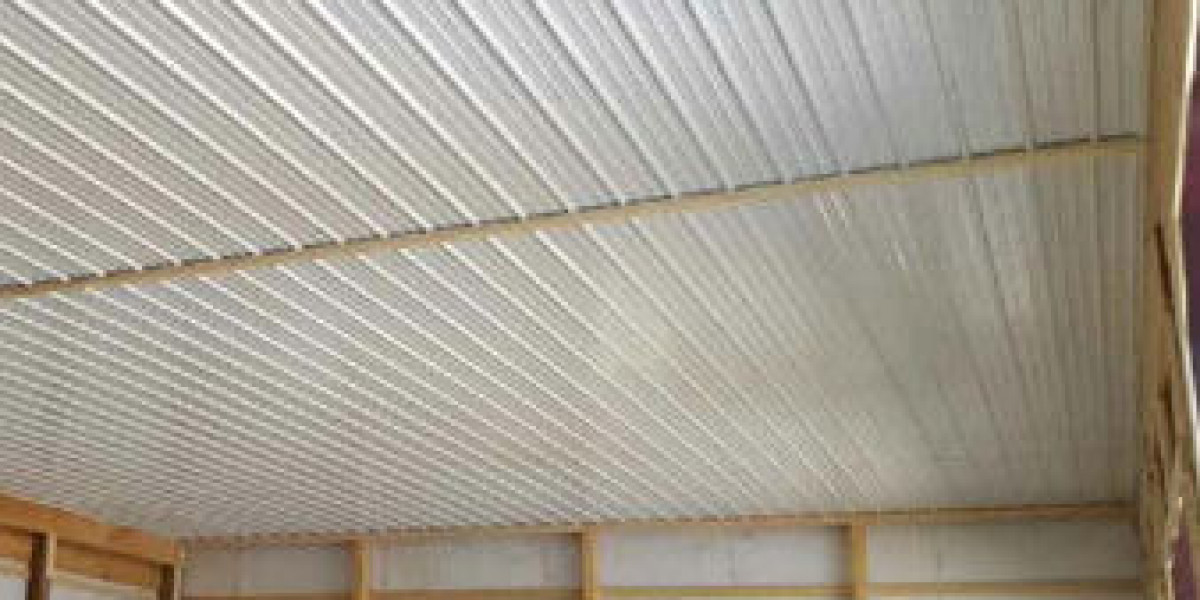
Assess the Existing Ceiling: Begin by inspecting the current state of your pole barn ceiling. Identify any gaps, cracks, or areas where drafts may occur. This assessment will help you determine the amount of insulation required and whether any repairs are needed before installation.
Gather Necessary Tools and Equipment: Before starting the insulation process, ensure you have all the required tools and safety equipment. This may include gloves, a mask, safety glasses, a utility knife, and appropriate fasteners for securing the insulation material.
Measure and Cut Insulation Material: Measure the dimensions of your pole barn ceiling and cut the insulation material accordingly. Take precise measurements to minimize waste and ensure a snug fit. If using fiberglass batts, be cautious with handling to avoid skin irritation.
Install Vapor Barrier: Consider adding a vapor barrier to prevent moisture issues. Install it on the warm side of the insulation, usually facing towards the interior of the pole barn. This step is crucial for preventing condensation and mold growth.
Secure Insulation in Place: Whether using batts, foam board, or spray foam, securely attach the insulation to the ceiling. Follow manufacturer guidelines for the specific insulation material you've chosen. Use appropriate fasteners and ensure a tight fit to maximize effectiveness.
Seal Gaps and Cracks: Pay special attention to sealing any gaps or cracks in the ceiling. This step is crucial for maintaining the insulation's integrity and preventing air leakage. Use caulk or expanding foam to seal these areas effectively.
Consider Professional Assistance: If you find the insulation process challenging or if your pole barn has unique features, consider seeking professional assistance. Insulation experts can provide valuable insights and ensure a thorough and efficient installation.
Conclusion:
Insulating your pole barn ceiling is a worthwhile investment that pays off in terms of comfort and energy savings. By following this comprehensive guide, you can tackle the insulation process with confidence, creating a more enjoyable and efficient space within your pole barn. Regular maintenance and periodic checks will ensure that your insulation continues to perform optimally for years to come. So, take the first step towards a well-insulated pole barn and enjoy the benefits it brings to your space.
Visit https://home-pick.co.uk